As long as I can remember, I have always enjoyed observing nature and being outside. From a young age, I can remember my grandparents talking about the juncos and nuthatches that would come to their bird feeders. When I got my first DSLR camera ten years ago, I spent countless hours outside exploring nature and bird photography.
I didn’t know what I was doing and not much of what I took back then is worth keeping, but I did find a bald eagle nest. Over the course of several weeks, I watched as the chicks grew, fledged, and then left the nest. This planted the seed of birding in me, and was for me what is often referred to as a spark bird.
Fast forward a few more years, I got a Canon 7D Mark II and a Sigma 150-500mm lens. I used this combo for photographing birds for several years, but I still wouldn’t have called myself a birder. Aside from a few common species, I didn’t know what I was photographing.
It wasn’t until the pandemic that I, like so many others, started birding in earnest. Now I am outside in rain, snow, or sun for a little time almost every day watching and photographing birds with my Canon 6D Mark II and Sigma 150-600 Contemporary. (It’s the perfect break from my work as a Data Engineer at Mylio.)
Getting close to birds
One of the most difficult (and most important) parts of bird photography is getting close to the birds. You can get a good shot of a large bird like an eagle or goose from a reasonable distance. But even with a large telephoto lens, getting a good photo of a hummingbird or a small song bird requires getting close.
You can do several things to make it easier to get close to birds. The most important of these is to practice patience. Approaching birds quickly will only result in photos of them walking or flying away. You will see more birds and get closer to them if you move slowly – or if you find a good spot and wait for them to come to you.
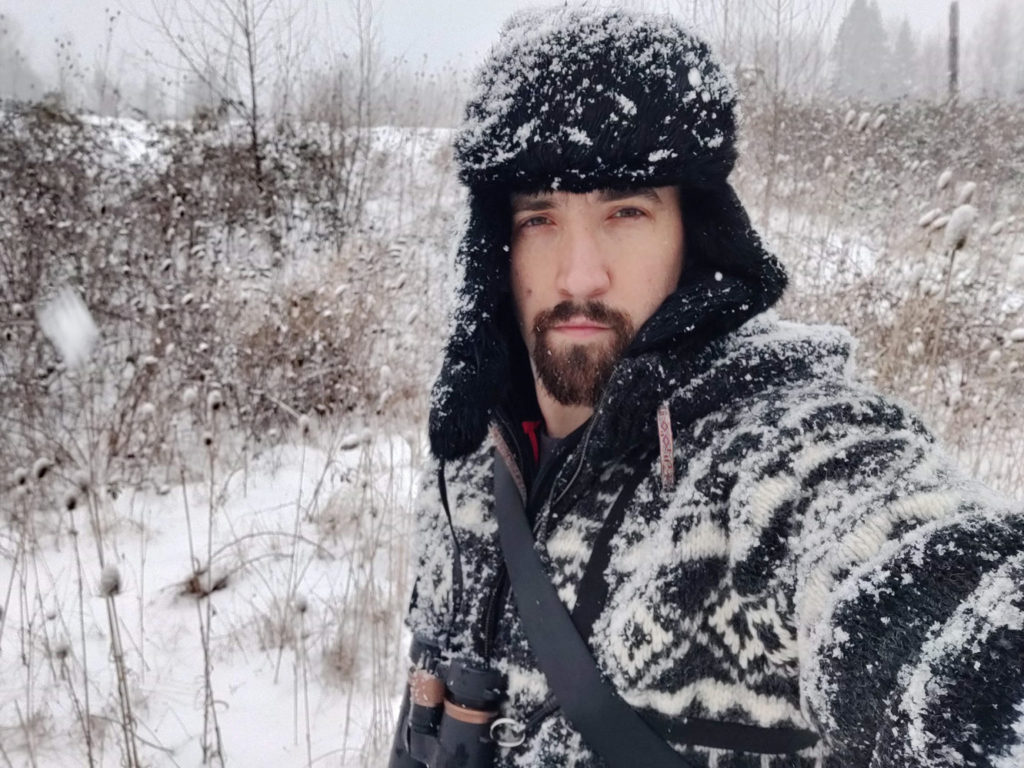
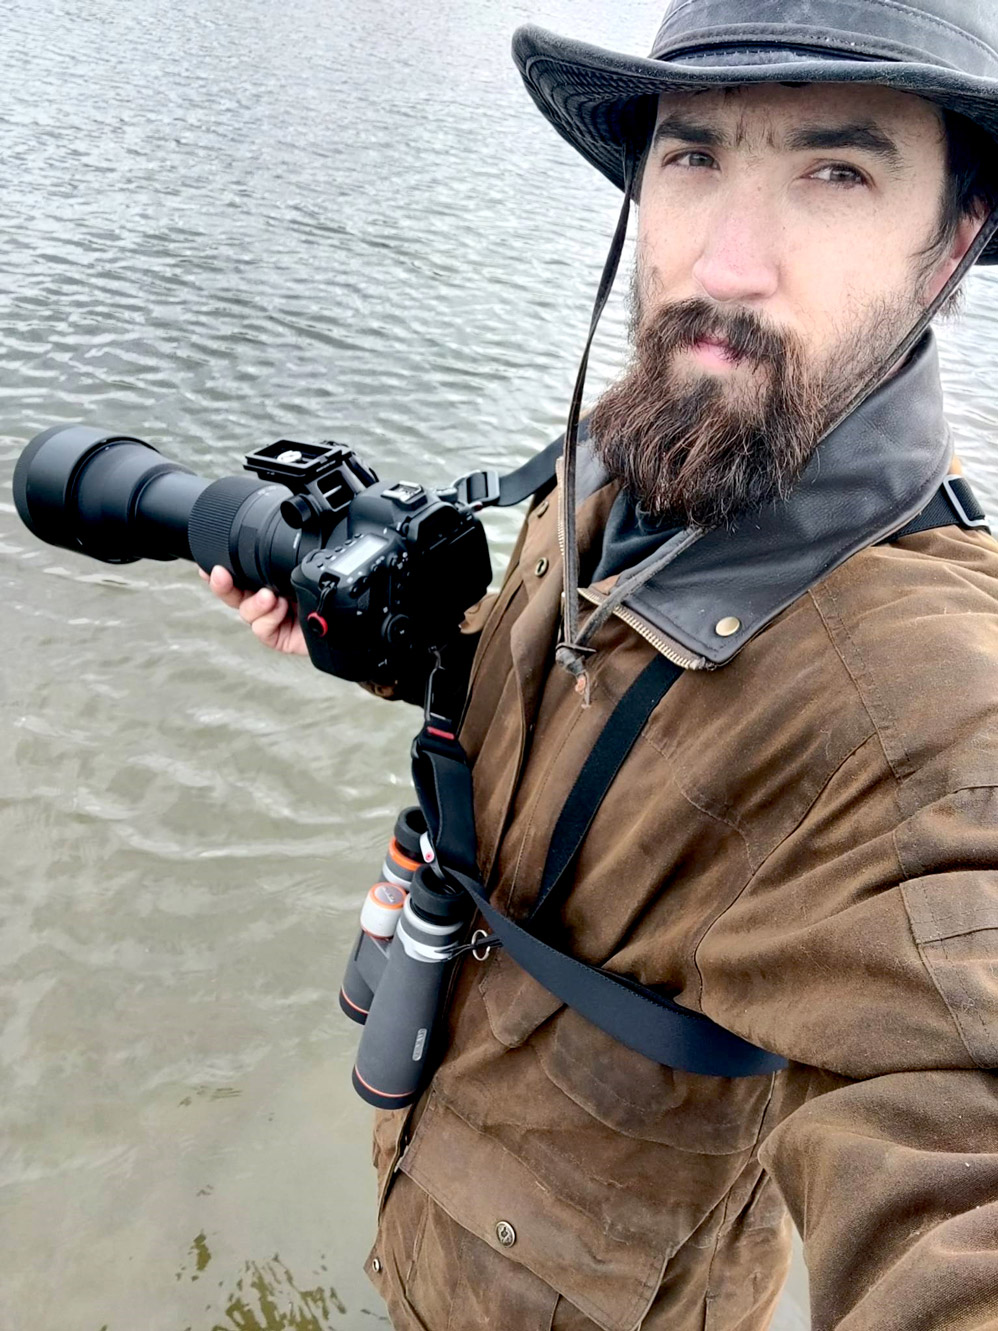
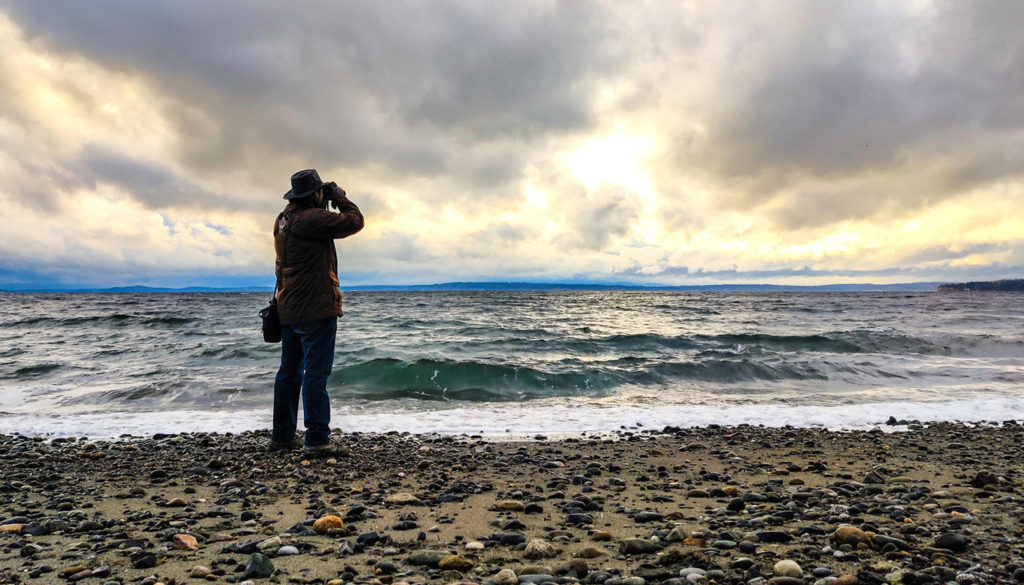
In addition to patience, you can also wear clothing that helps you blend into the environment. In the colder months, I can often be found sneaking through the woods looking for birds in my brown oilskin jacket. As the weather warms up, I switch to dull colored t-shirts.
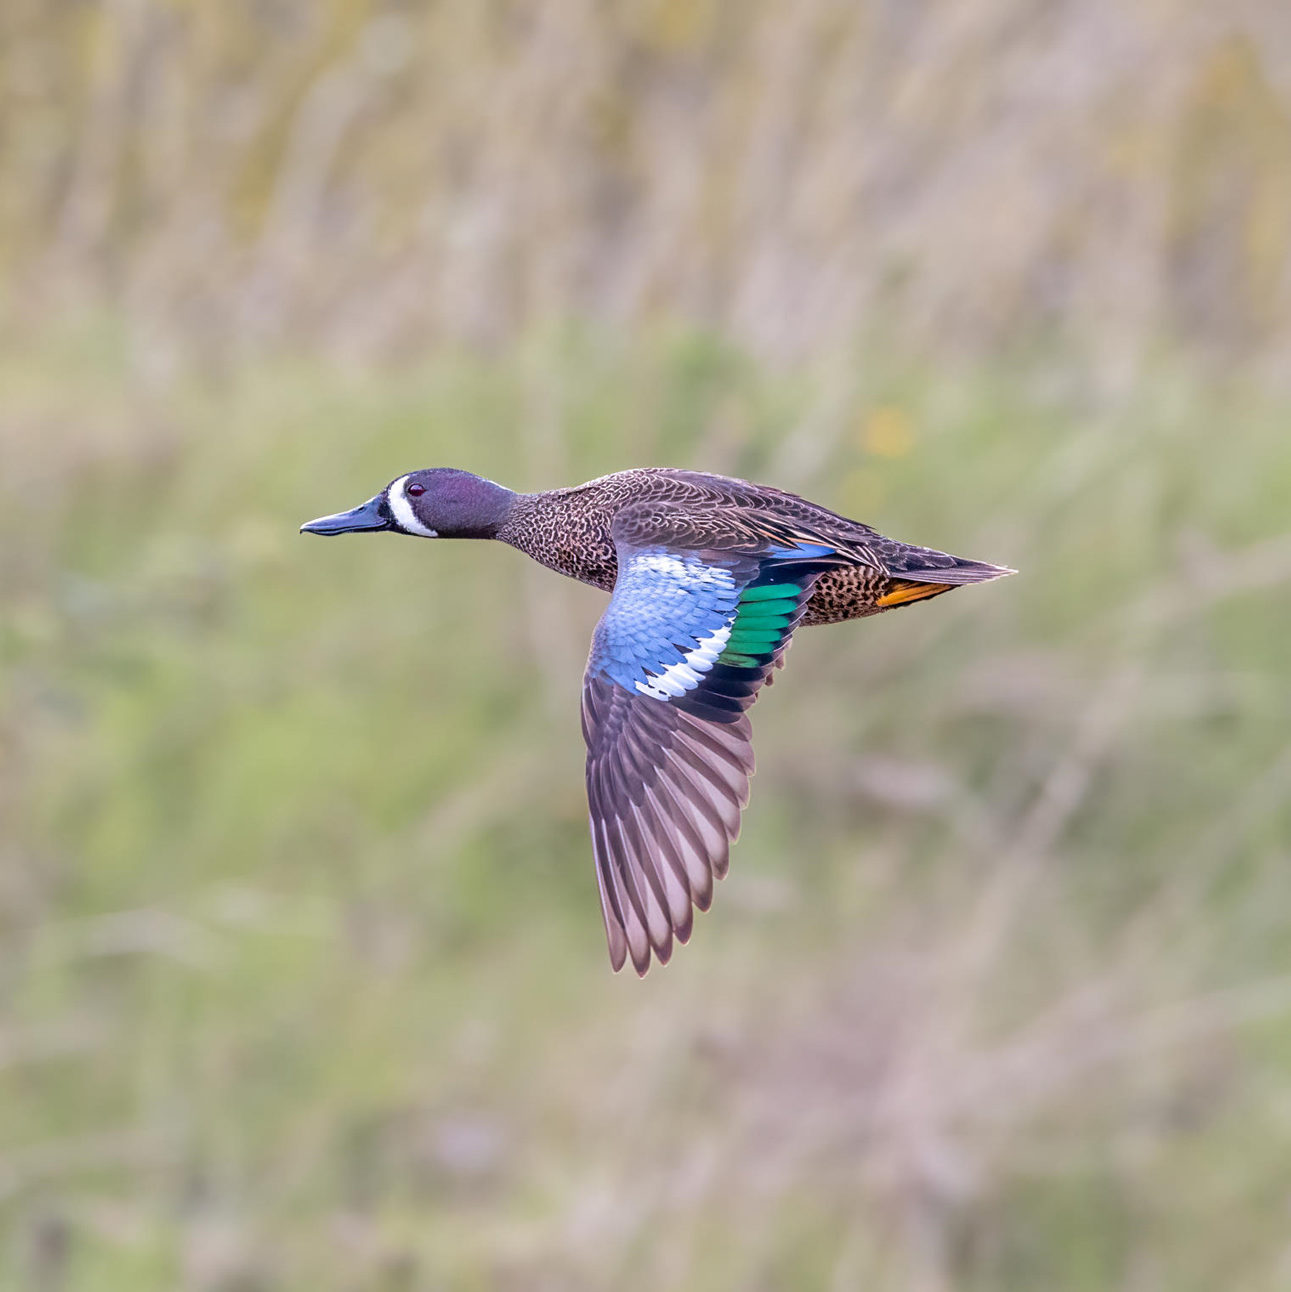
Sometimes getting close to a bird requires a bit of discomfort. I took this photo of a male blue-winged teal by wading out into the middle of a pond.
Another useful skill that comes only with practice is learning how individual species react to people coming close to them. Some species like the red-breasted sapsucker don’t seem to care and will allow people to approach quite close. Others require great care when approaching to keep from frightening them away.
This red-breasted sapsucker was only about ten feet away when I took this picture of it drinking from the sap wells it had drilled previously.
Shooting at eye level
Most great bird photos have one thing in common: They are shot at eye level, or at least at an angle that appears close to eye level. Shooting at eye level improves photos of almost anything with eyes including kids, pets, and birds. While birds can often be found perching near eye level, they are more frequently found flying, on a high branch, on the water, or on the ground.
For birds on the ground or on the water, I try to get as low down as I can when shooting them. Usually this means crouching or kneeling, but it sometimes means lying on the ground.
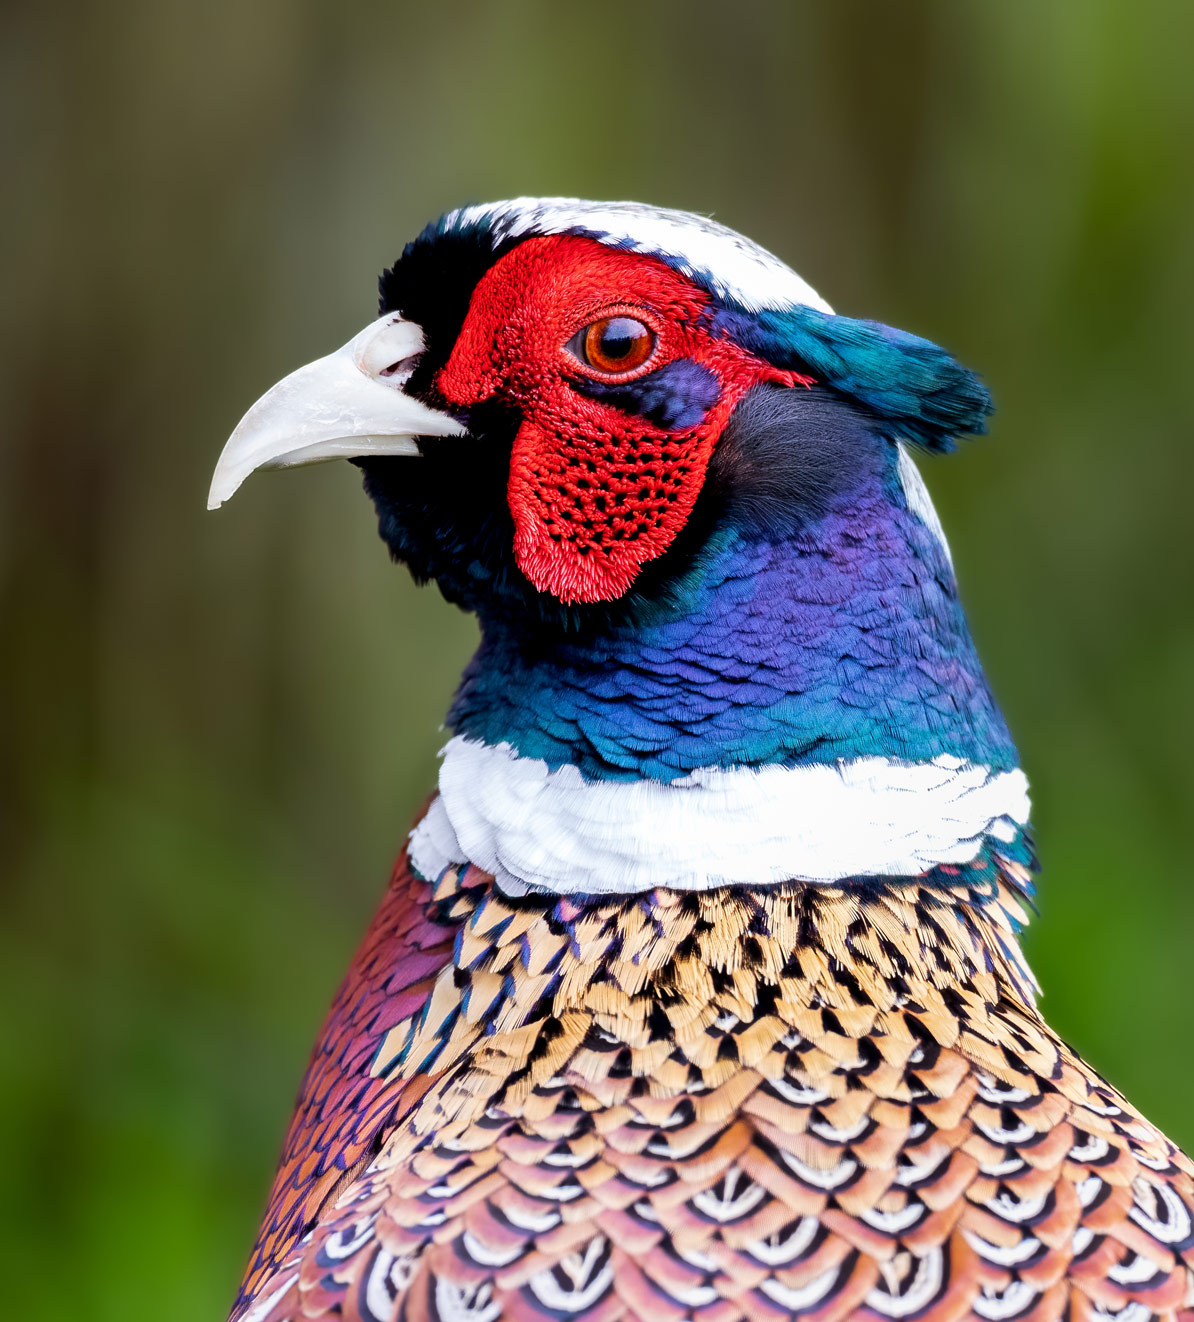
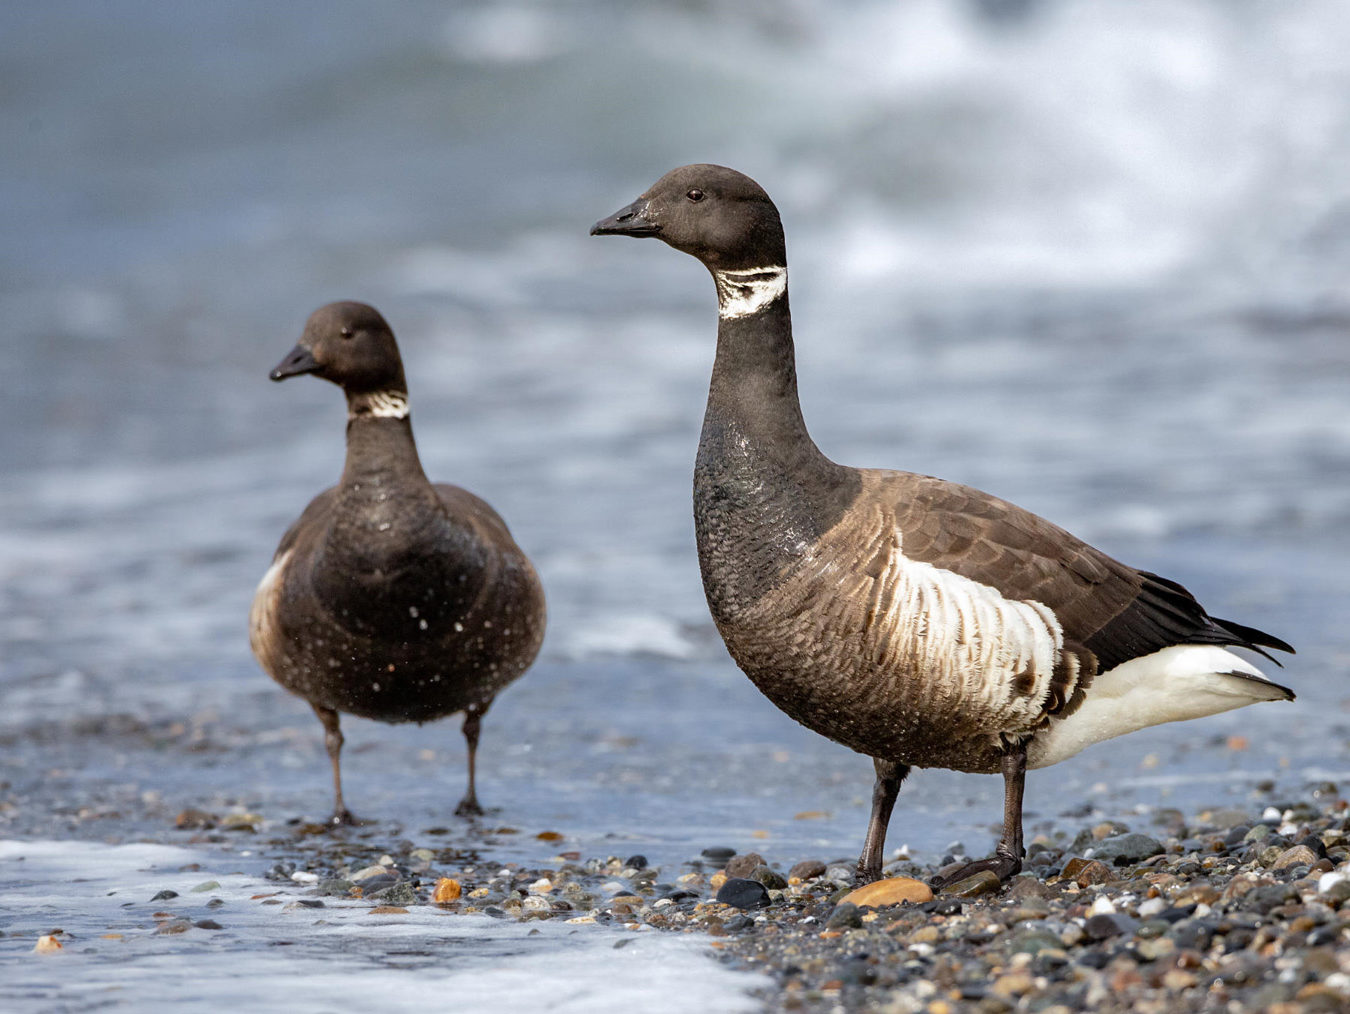
I took this photo of a ring-necked pheasant while crouching down to his level. For the brants, I was kneeling in wet sand.
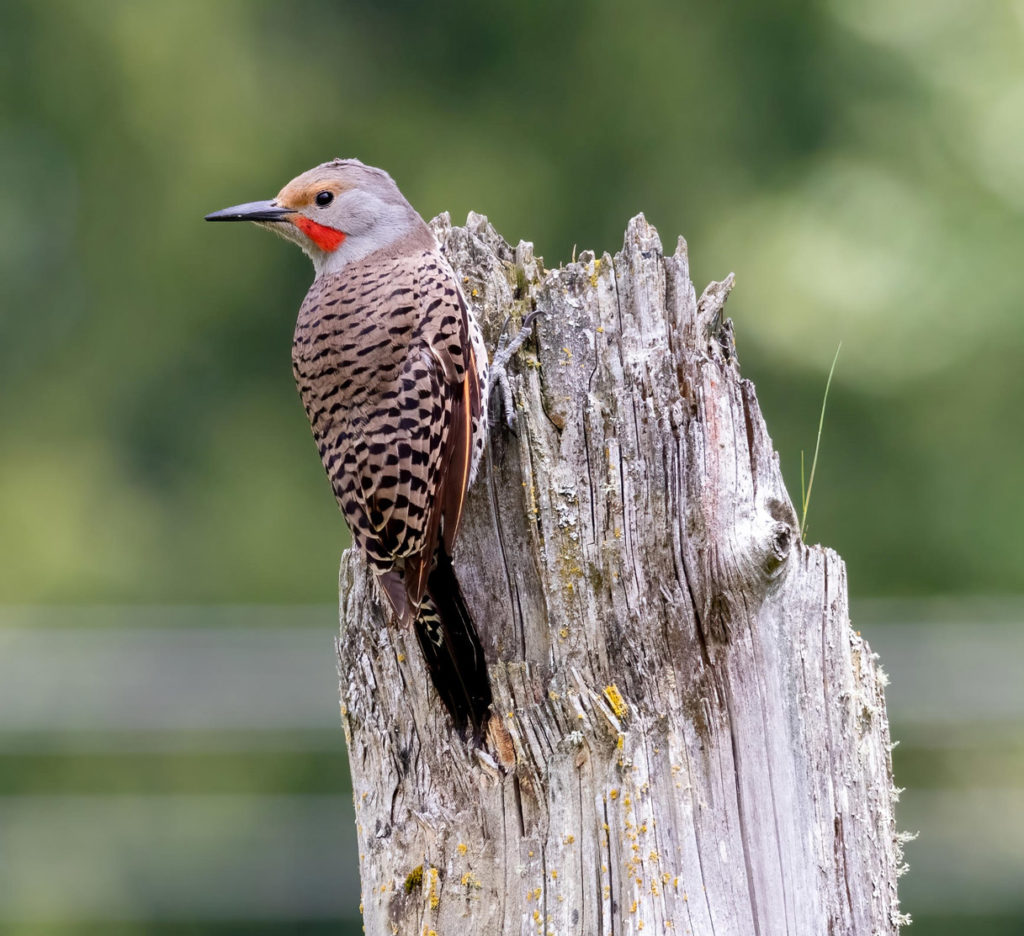
When birds are perched high in a tree or flying, it is a little more difficult to get to eye level. In these cases, I will often look around to see if there is some place higher I could go. If I can, I will climb a hill or a stump to get closer to the same level as the bird. Otherwise, I try to time my shots for when its head is tipped in my direction. If I am shooting up at a sharp angle, I will step back a bit and trade distance for a better shooting angle.
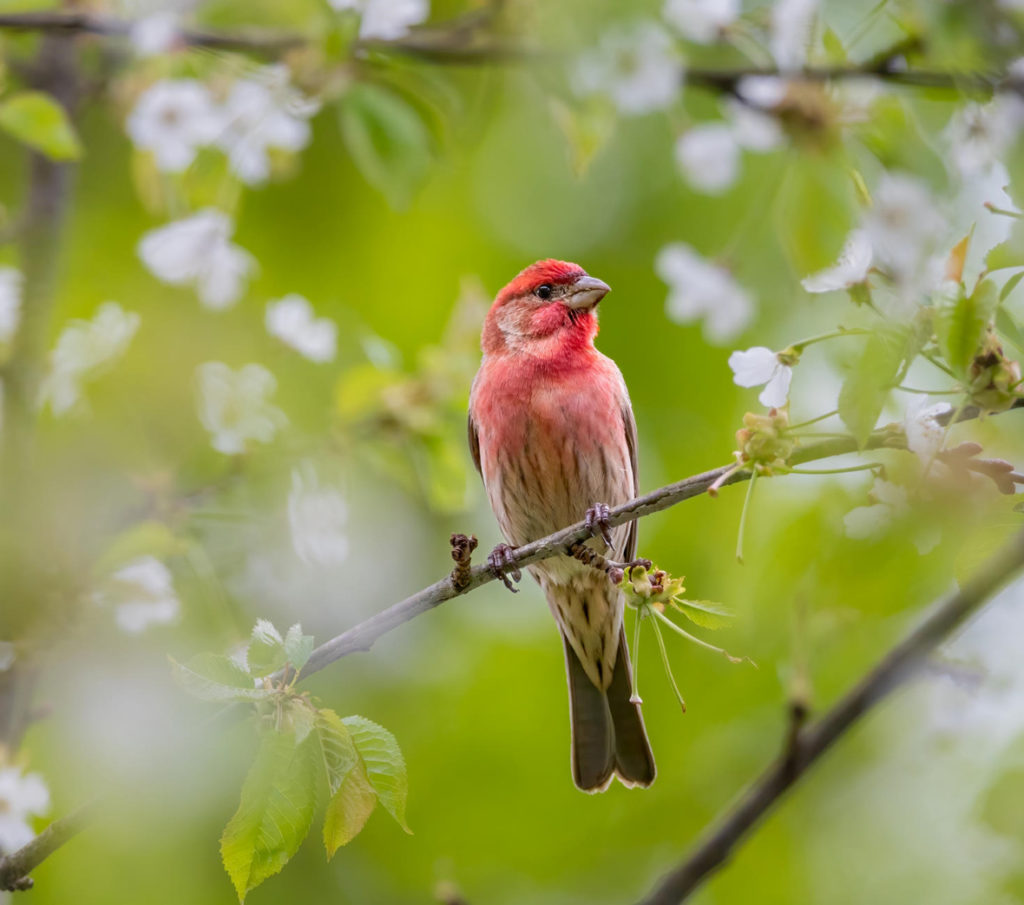
The shot of this house finch in a cherry tree was taken at a fairly sharp angle. I waited for it to turn its head to a better angle before taking the shot. I climbed a nearby hill to get an eye-level shot of this northern flicker.
Watching the background
As with other types of photography, in bird photography, it is important to try to keep the background as free from distractions as possible. Sticks crossing behind the bird distract the viewer and take away from the impact of the image. Sometimes a bad background is unavoidable, but often all it takes is a step or two to completely change the background.
I prefer shooting birds with a dark background (usually this comes from trees or bushes) but often birds will be silhouetted against the sky. This often results in a significant lighting difference between the bird and the background. If the lighting difference is not too significant (as in the case of this well-lit bald eagle on an overcast day) you can still get good results.
When photographing dark birds, it can be difficult to properly expose the bird without completely blowing out the background. When shooting this red-winged blackbird, I moved over so that the background was mostly filled with distant trees. You can see a hint of the overcast sky on the right of the frame.
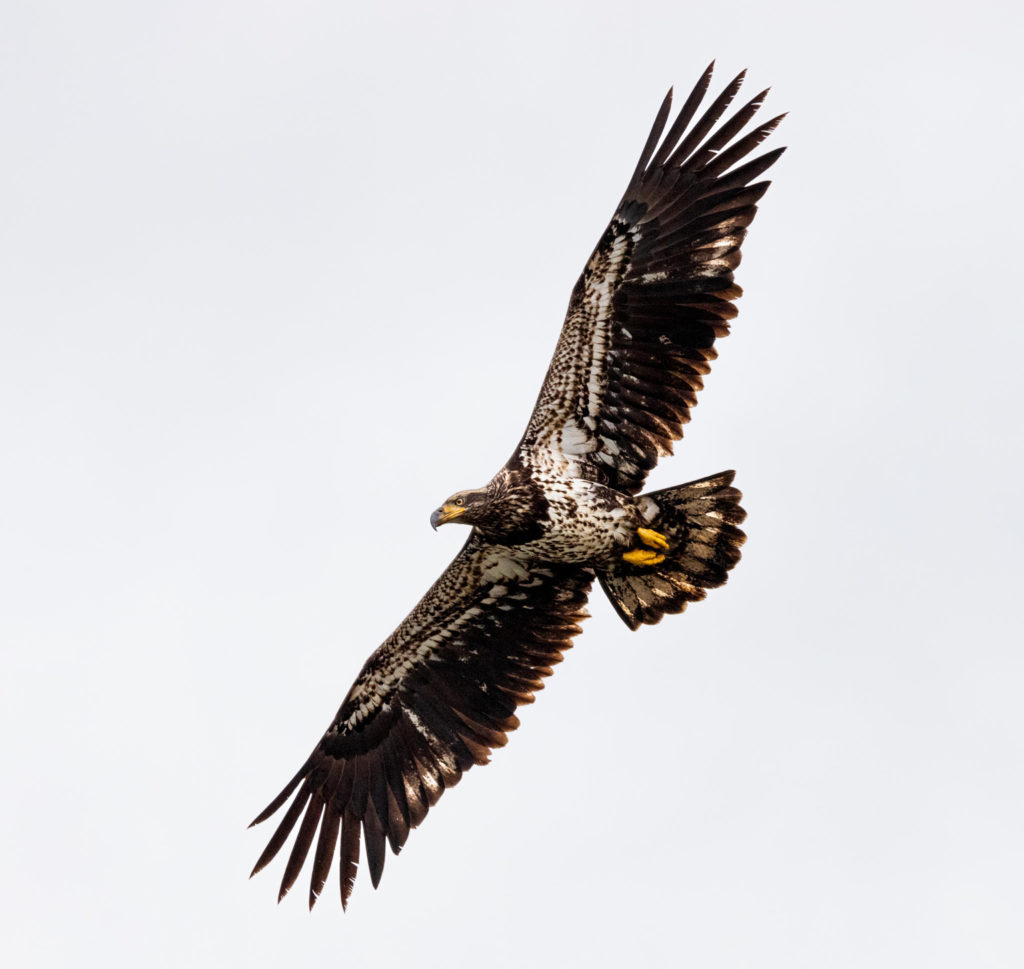
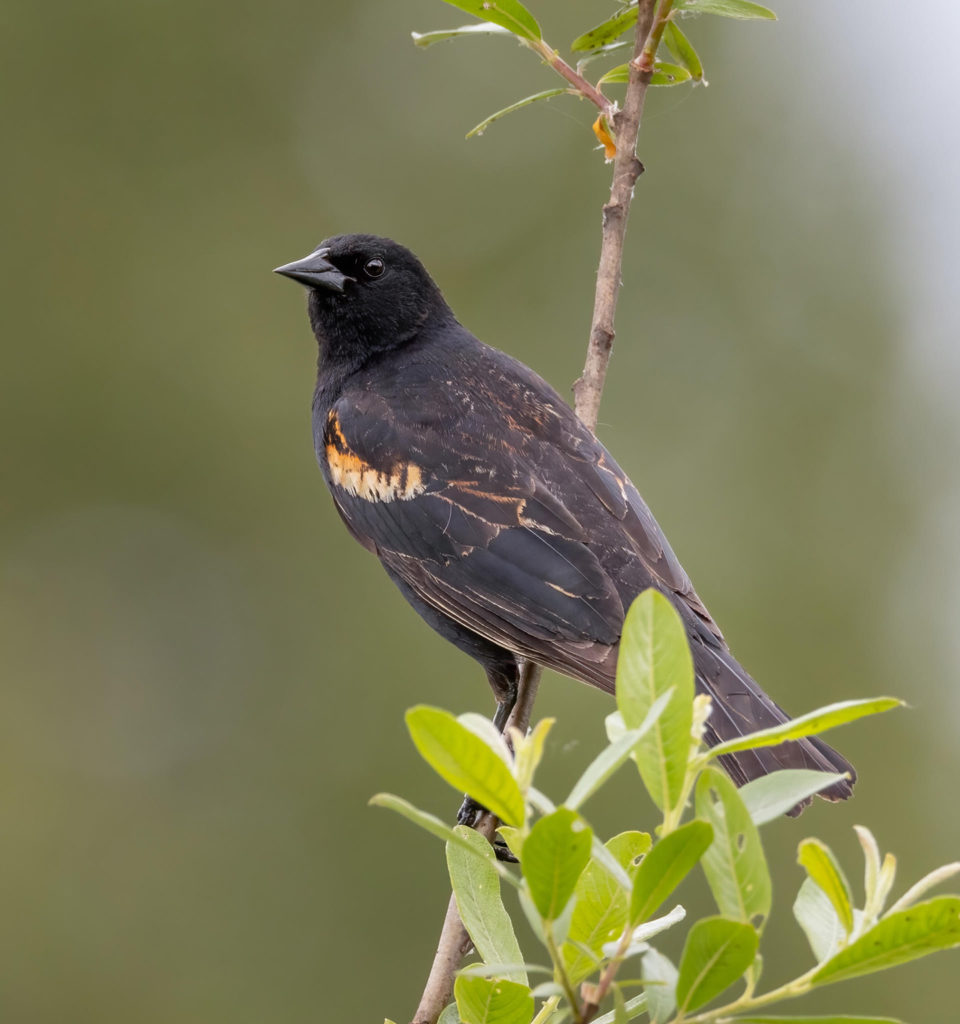
Unless you shoot fully in manual mode including ISO, you also need to watch your exposure compensation and adjust it according to the background. When taking the photo of the bald eagle, I increased my exposure compensation one stop. With dark backgrounds like the red-winged blackbird, I usually lower my exposure compensation by one-third to two-thirds stops.
Using a bird feeder
Like many other bird watchers, I enjoy feeding birds. In addition to providing a source of entertainment, bird feeders can also be a valuable tool for getting some great bird photos. By offering different foods and placing your bird feeders near trees or bushes, you can attract a variety of birds to your yard. In our yard we have four feeders, placed about 15 feet from ideal perching spots. They regularly attract over two dozen species of birds.
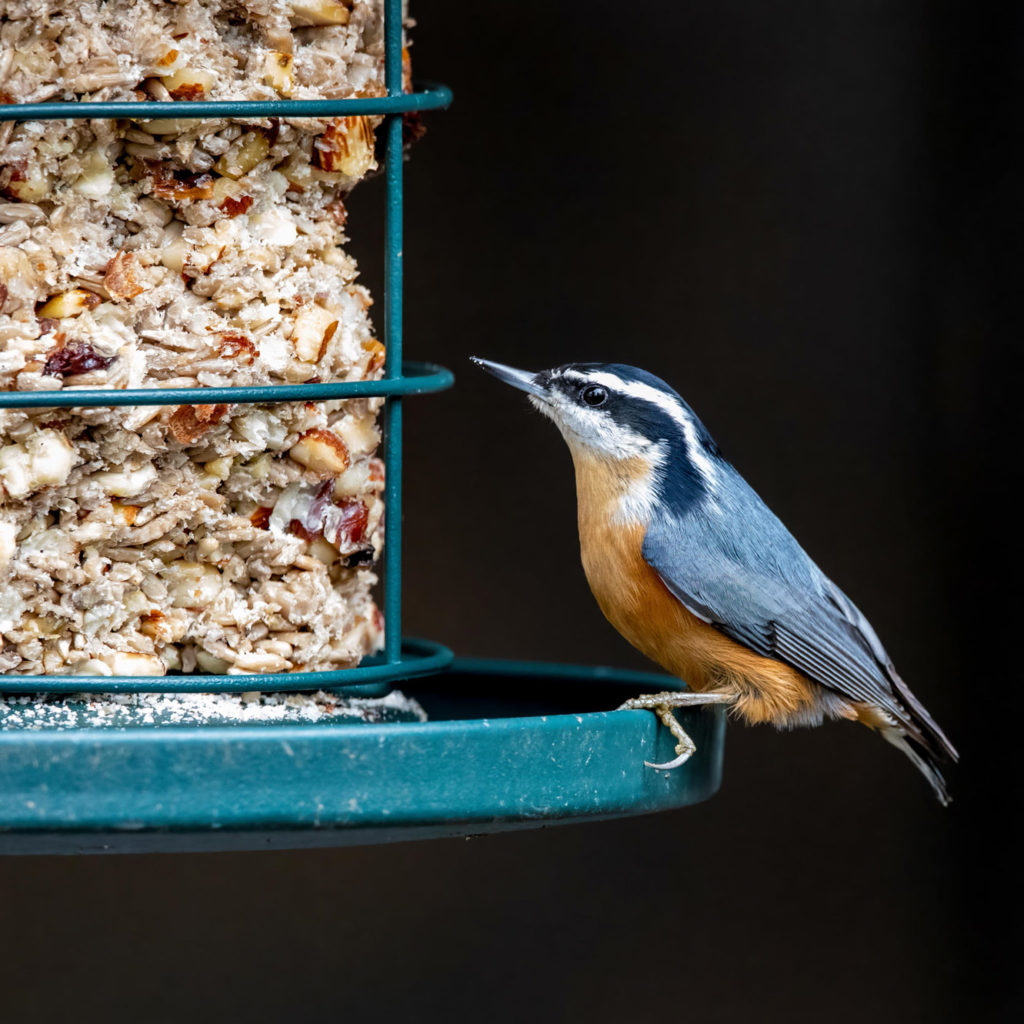
While I occasionally take photos of the birds on the feeders, I usually try to get pictures of them on the trees and bushes near the feeders. When the birds go to a feeder, they will often land on a nearby tree or bush first, then fly to the feeder. Once they have finished on the feeder, they will fly back to their perch. By standing nearby, I am able to get much closer photos than I normally could.
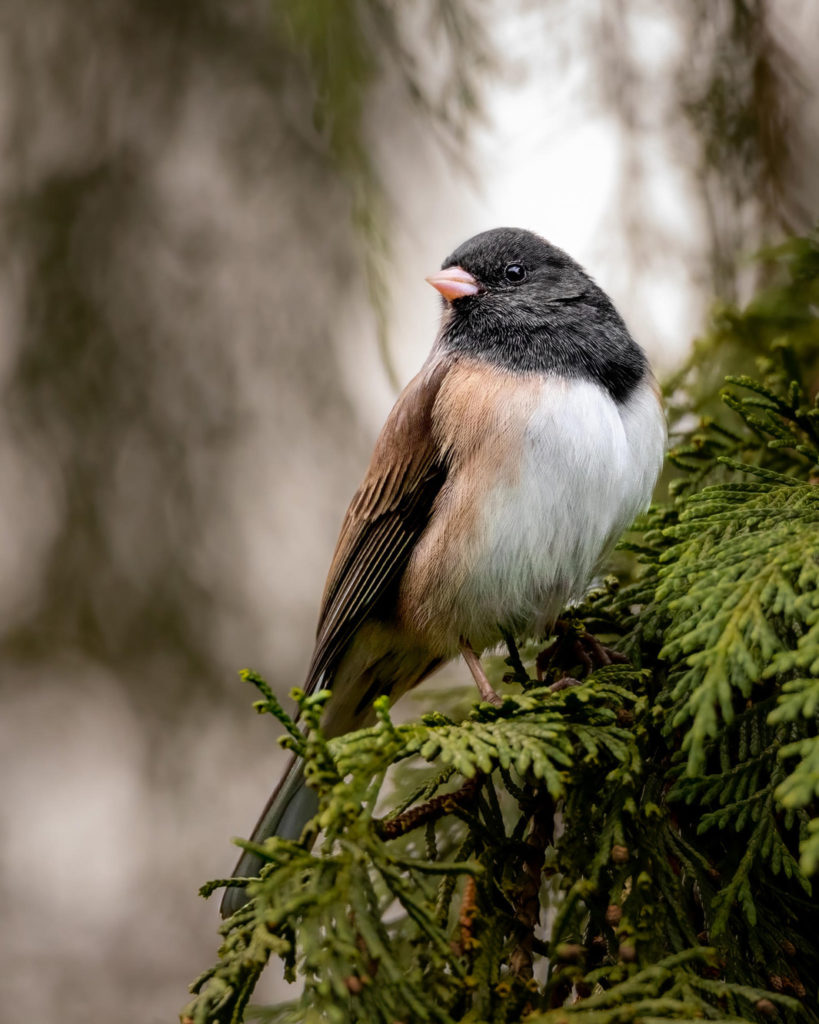
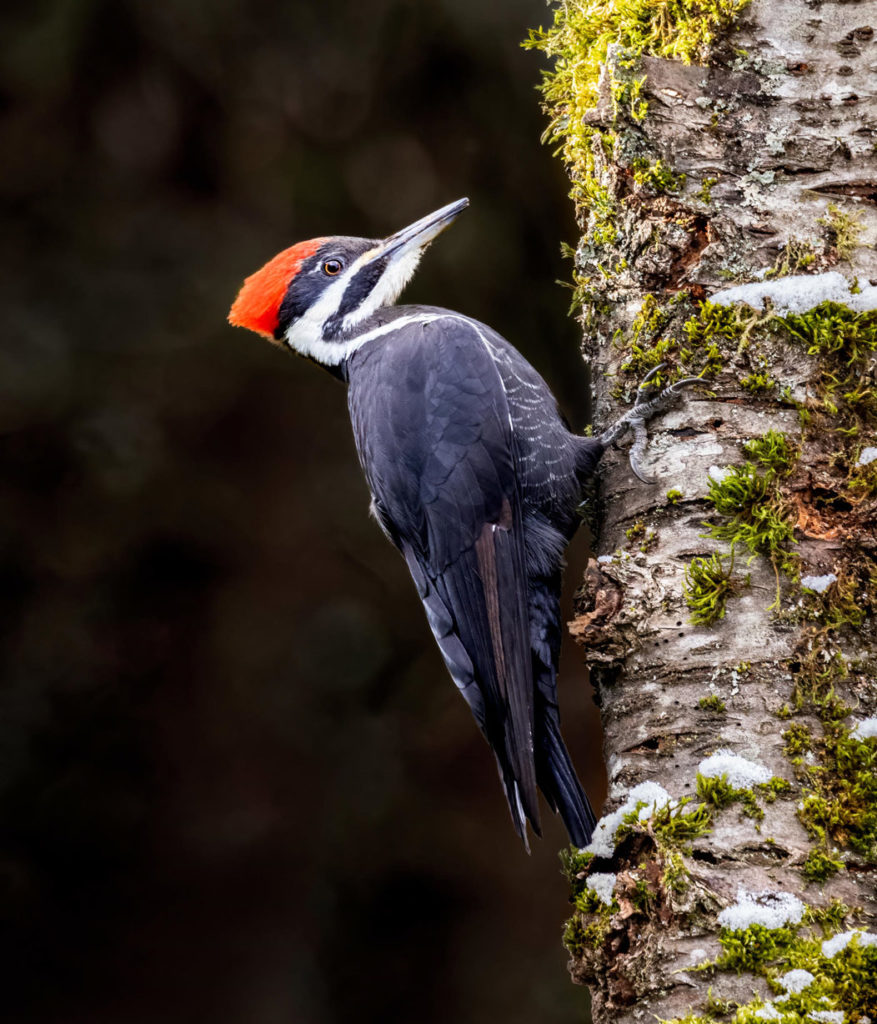
This dark-eyed junco perched briefly on this cedar branch in between rounds of foraging for seeds underneath our bird feeders. The shy pileated woodpecker is waiting on a nearby tree for the photographer to go back inside so it can get some suet.
Finding birds
Birds can be found almost everywhere in almost any environment, but just because they can be found anywhere doesn’t mean that some places aren’t better than others. The ideal places for bird photography are usually those that offer lots of birds and a wide variety of species.
To find a new location for birding or for bird photography, I use eBird. eBird offers a color-coded map of birding hotspots as well as a list of recently sighted birds in your area. I use eBird when traveling to a new area to see what locations are good for birding and what species are being seen nearby. I also subscribe to email alerts for any rare bird sightings in my area.
In addition to finding new places for bird photography, you can also use eBird to record your sightings and upload the photos you have taken out in the field. I use eBird to track my life list, a list of all bird species I have seen since I started birding. I also use it for tracking the species I have seen by state, county, or even an individual location.
Organizing your bird images in Mylio Photos
Once you have taken some great bird photos, it is time to get them organized. When I go out birding, I often take several hundred photos. When I get home and put them on my computer, I usually delete most of them and keep only the best shots or shots of species I haven’t photographed before. By getting rid of all the bad shots and keeping only the best, it is easier to keep my photos organized.
Once I have narrowed down my selection to just the ones I want to keep, I keyword each photo with the species name and occasionally the subspecies. Then I put each photo into an album for that species. This makes it easy for me to browse or search for bird photos on any of my devices.
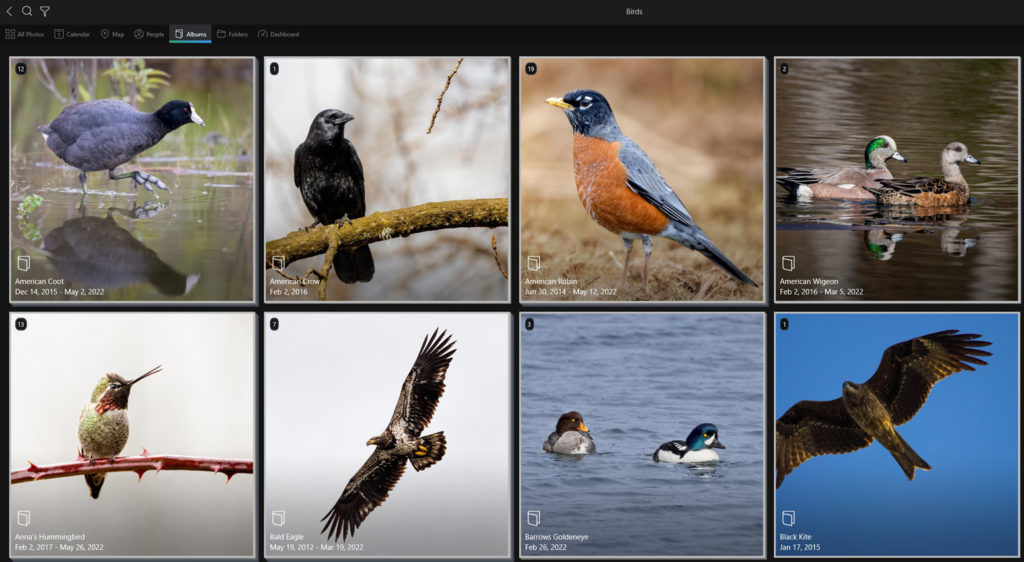
Now, whenever I want to find a photo a bird, whether to share it online or to show it someone out in the field, I can just open Mylio Photos and quickly find it. Mylio Photos also helps me keep track of what species I have photographed and which I still need to capture with my camera.
Final thoughts
There are few things I enjoy more than getting out in nature. Birding is the perfect way to get outside and experience the natural world. When I am out looking for birds, I often see deer, river otters, beavers, and other wildlife I would have walked right past if I hadn’t been looking for birds. It doesn’t take much gear to get started in birding. Just a pair of binoculars.
You can even start photographing birds with just binoculars and a cell phone. If you want to get serious about bird photography, the advent of relatively cheap telephoto lenses that still give good image quality has made bird photography less expensive than it has ever been.
Now, go outside, find a bird, and take its picture. You’re also invited to join the Nature Photos group in Mylio Photos Community, where you can share your bird pics and interact with photographers with similar interests.
Aaron Predmore is an avid amateur photographer. He can often be found outdoors photographing and observing nature. When he is not outside taking pictures, he enjoys spending time with his wife and two kids and working as a Data Engineer at Mylio.